


If you are in Jogjakarta or having an interest to visit this city then here is something interesting you can do when suddenly it starts to rain. I was in this situation when my last visit to Jogjakarta. When I saw the rain pour on the streets, I decided to take a look of some excursion I could do from Via-Via.
Via-via is a famous place for tours and travel. Via-via has it’s own restaurant, guest house and tour schedule. One interest thing for me is to make your own silver ring. Sounds so cool! In Kota Gede, Jogjakarta, I know that the place is famous for silver made or sold. But making your own ring also will be a good idea to enjoy your day if your plans get messed up becaue of rain.
I was so lucky because the rain stopped a few hours before the course started. It was starting at 6 pm until 8 pm. The cost is Rp. 120.000,- ($12) and you will get 4 grams of genuine silver that you can bring home after your done. It will be good for you if you already had in mind what model of ring you want to make.
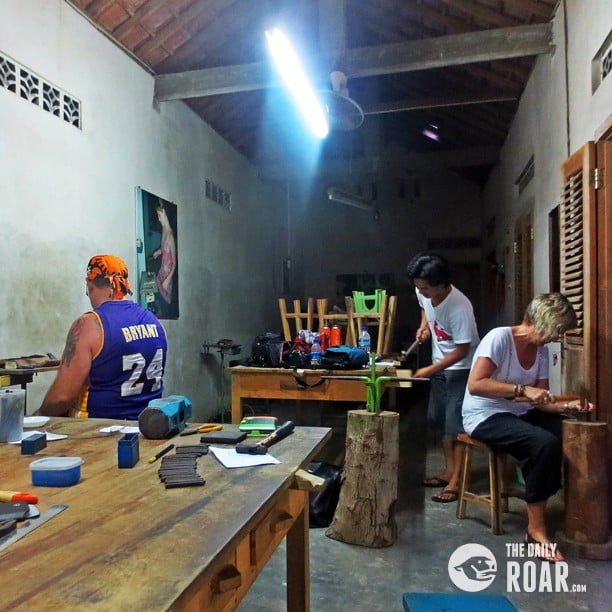
Arrived in Jalan Purbayan KG/3, I came inside the Studio 76, the place where the course was held. There was a couple that also joined the course. So it was going to be the three of us. We started by choosing our model of ring. I had in mind to make a butterfly silhouette, but I was so bad in drawing that I decided to make a more simple one. Only two thick same lines, I was thinking in a “less is more” concept hahahahaa… If you need more than 4 grams to make your ring, you need to pay Rp. 20.000,- per-gram, which is quite cheap. By the way, you can also make anything else with your original 4 grams, such as a pendant, etc.


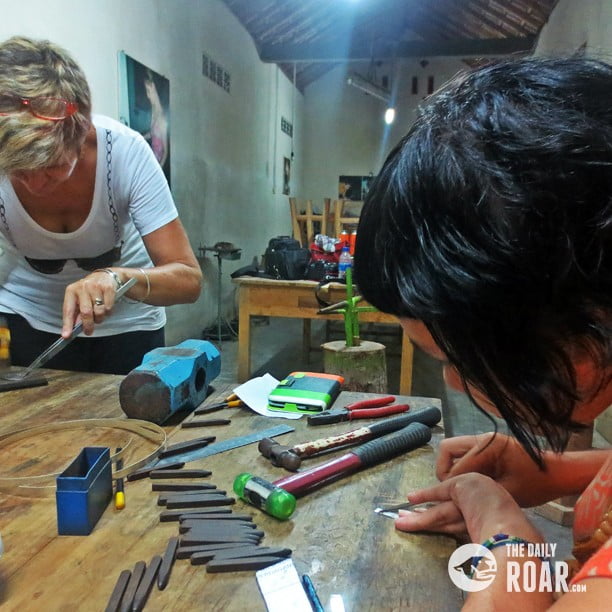
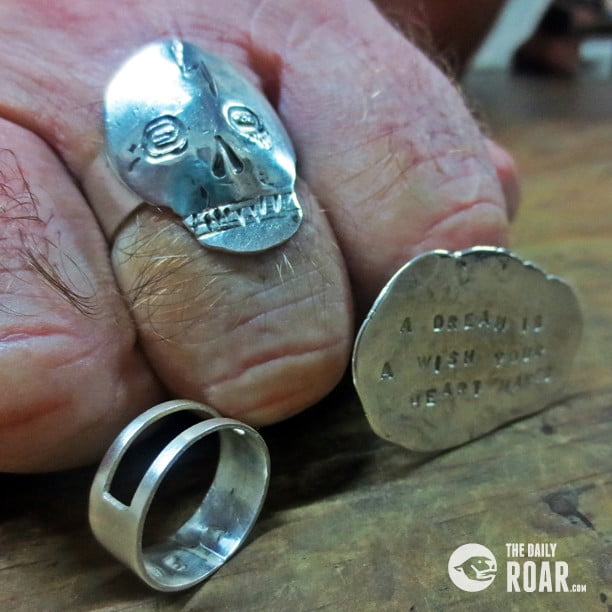
The guy chose to make a skull ring and the woman chose to make a special pendant. Then the teacher, mas Agus, started to explain us how to make it. Because each of us made a different style he had to treath each of us differently and explain to us one by one. Oh well, it’s all quite difficult but now I know how to make a ring. It will be so easy to just buy it from the store, but the excitement of the whole process is really priceless.
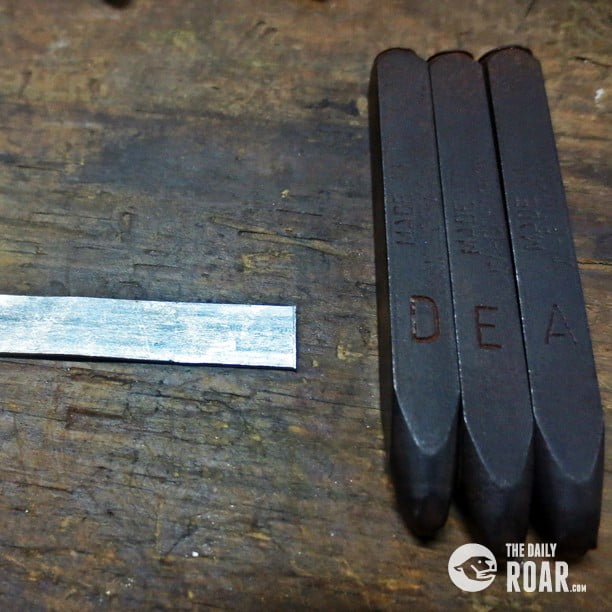
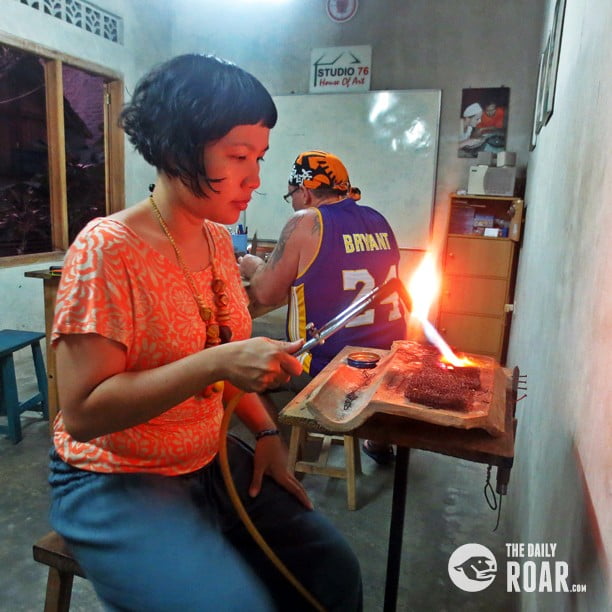
I put my name on the back of the ring. You need to burn the silver to a certain heat, so it is more easy to mold the silver in the shape you want. I learned how to cut the silver, how it should be equally devided, it can’t be obliqued, and… it’s all quite hard, hihihii, my hands intended to go anywhere with the special saw for cutting the silver. Also I learnt how to hammer the silver until it is flat and can be formed into a circle. Don’t worry, the teacher will fix it if you had a problem in the middle.

If you are satisfied with your ring all you need to do then is clean it by putting it in a special chemical to make the silver color emerge and more shining. After that is finished you can be proud of yourself because you just made your own silver accessories. We also found out that when making silver art you need to have a lot of patience and attention for your work. For such a simple ring as mine, I needed two hours. Can you imagine how long it would take if the design is even more complicated? Hehehee…


